Tyre (Tire) Pumps and Inflators

Oasser Tyre Pump

There is always a tyre inflator on my bike. So, which ones are on my bikes…

As to tyre inflators, there are pros and cons to both – Yes, I have both and much prefer the Battery ones as I don’t need to run the bike (hot exhausts) and fit higher draw 12v electrical sockets on the bike. Don’t use the 12v socket in the glove box you’ll blow the fuse!

Battery (lithium-ion) inflators are the most convenient and some can also be used as a 12v and/or USB charger. They usually come with LED screens, are usually very accurate and are easy to operate.

The battery inflator on the FJR is used every day to check the tyre pressures on the bike I’m riding that day (yes, I check the cold tyre pressures every day. I believe tyres are that important) and recharged every week (more often if required). It is now over 4 years old and, because it is being exercised regularly, the battery is in good condition and will inflate a motorcycle tyre from flat more than twice on a single charge – DAMHIK! This one will fit under the seat of a 2019 FJR:

Tyre Pump on the FJR1300

FJR: https://amzn.to/3mSRhns – Oasser Tyre Inflator Electric Bike Pump LCD Display with Rechargeable Li-Ion Battery LED Light 150PSI 12V Black

I have a second battery tyre inflator that has just given up the ghost after 7 years which was kept on my NT700VA Honda Deauville. This one was used every day to check the tyre pressures on the bike and recharged every week (more often if required) until I got the one above. Then it was used intermittently. Oasser claim it will inflate a flat motorcycle tyre 8 times on a single charge. It is a little bigger, but more powerful, than the one on the FJR and won’t fit under the seat. To be able to fit under the seat it needs to be less than 8″ long and preferably <= 7.8″ long.

NT700: https://amzn.to/3Jtae82 – Oasser Tyre Inflator Car Tyre Pump 12V AC/DC Portable Air Compressor with 2000 Large Capacity Battery Rechargeable Li-ion Battery 120PSI 20 litres/Min

Both the Oasser tyre inflators come with a 12v and mains (110v – 240v) charging system. So, using the 12v, you can recharge it on the FJR using the 12v glove box socket provided you don’t run the pump at the same time.

I’m looking at replacing it with a Fanttik: https://amzn.to/3JJxekf The downside with the Fanttik is the length of the hose which is quite short.

I have found that the “wired” tyre inflators tend to have analogue gauges which, usually, aren’t as accurate.

For balance, here are a selection of motorcycle tyre inflators both battery and “wired”:
Selection of motorcycle tyre inflators: https://amzn.to/3JIUT4g

Also, I have ridden 10s of 1,000s of miles with plugged tyres (mushroom type – best, and with gummy worm type). I’ve never had a problem. Admittedly, my speed was rarely above 70 mph. I wouldn’t have any qualms riding with plugged tyres. So repair your tyres on the go and check the cold pressures regularly.
How to Pin the Panniers on a Yamaha FJR1300

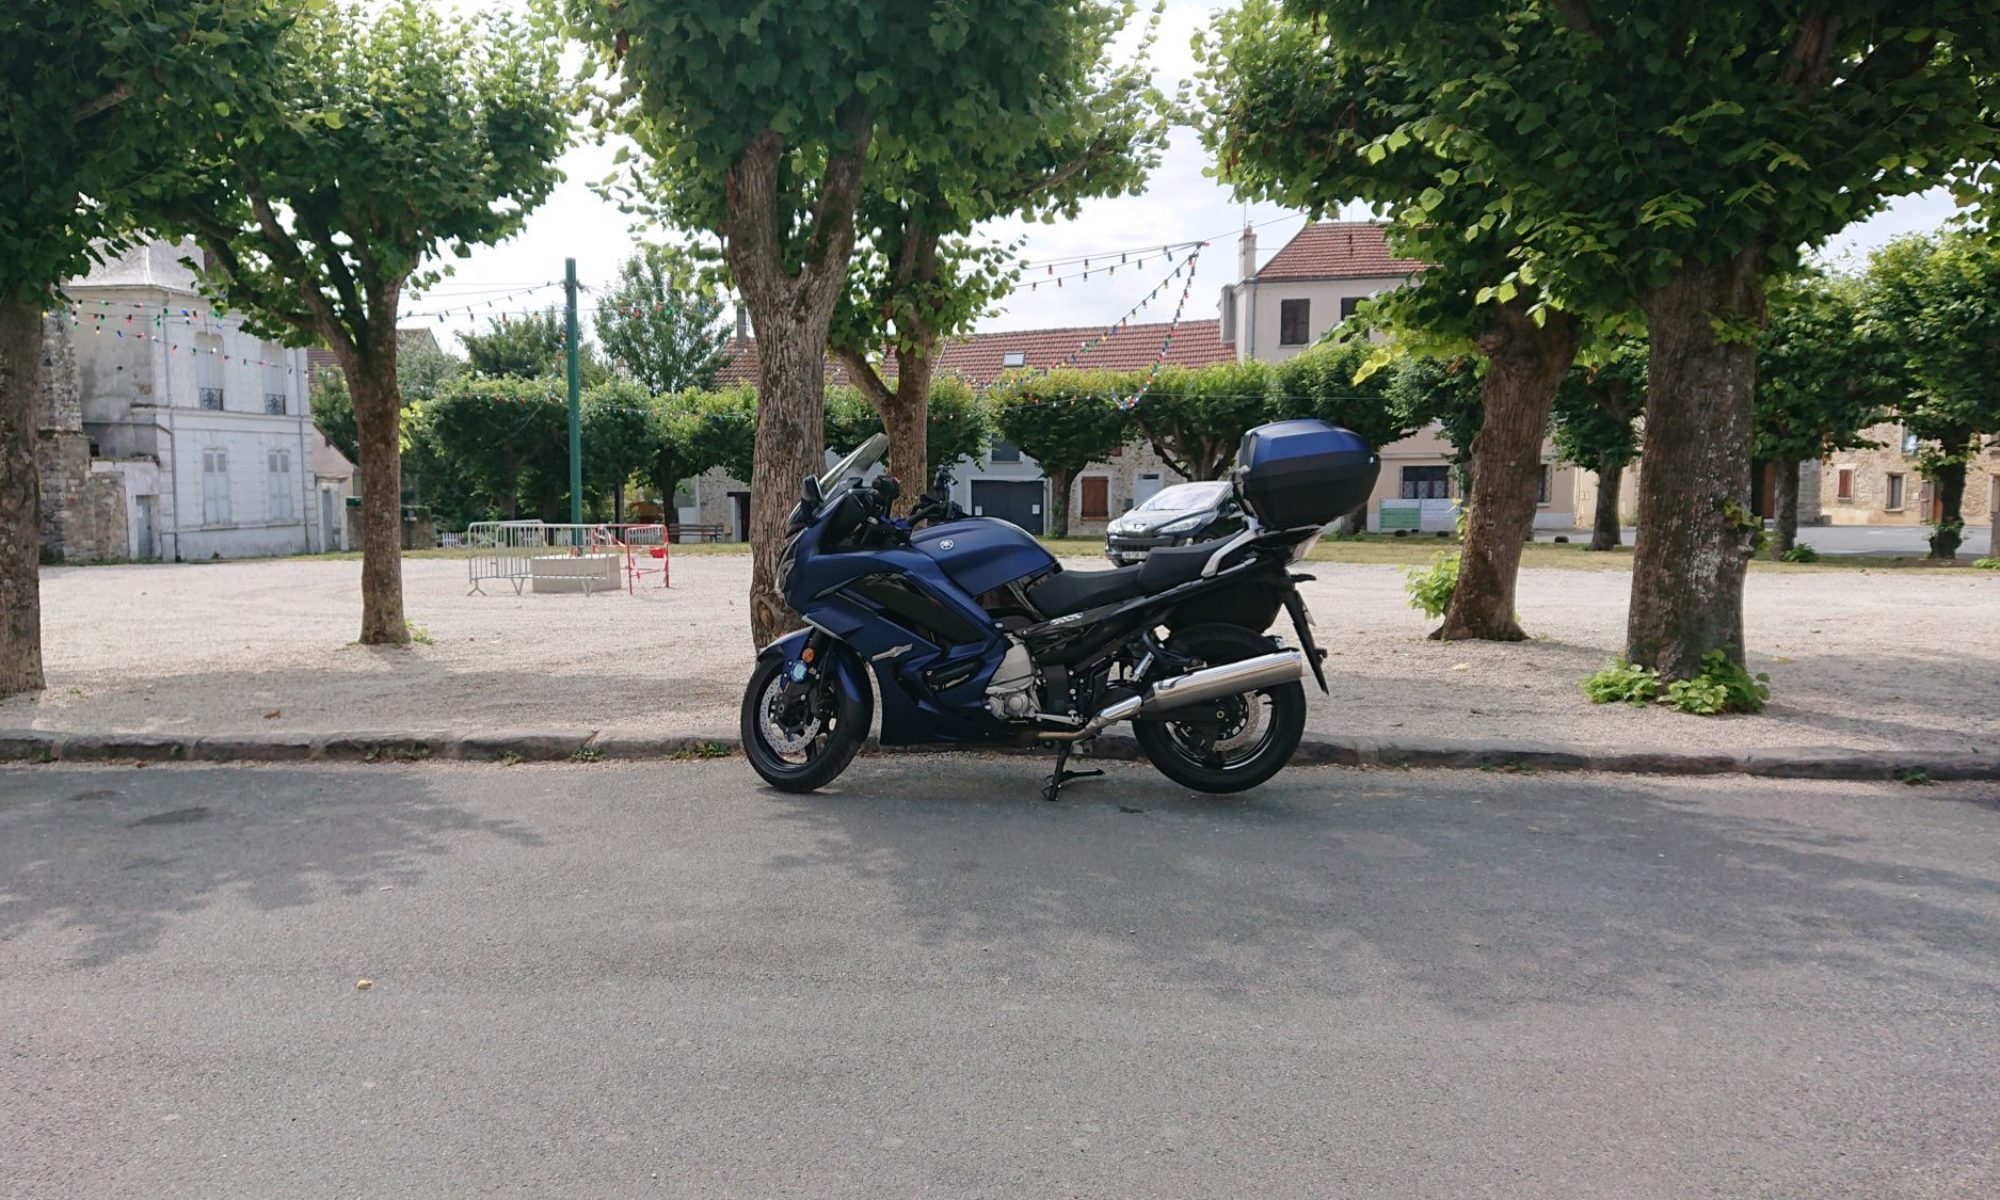
There have been occasions when the side cases on the FJR1300 have become detached while riding, especially after hitting a bump or deformity in the road. Only just the other day someone posted on another site about one of his Panniers becoming detached and self destructing on the road. Luckily this hasn’t happened to me. Even so I decided to do something about it. The video on How to Pin the Panniers on a Yamaha FJR1300 is at the end of this post.

With that in mind I decided to pin my panniers. It turned out to be a very easy job – the basic work took less than 15 minutes to complete both sides. As I have rear crash guards and decided to paint the clevis pins, it took about an hour or so in total.

I’ve found that since doing it the panniers don’t move at all. Whereas before they would rattle a little. Also, when they are full, the bike seems more stable at the rear probably due to the lack of movement.

The minimum you need to do the job is two 55mm x 6mm (2¼” x ¼”) or slightly longer Clevis Pins, a 7mm (5/16”) drill bit and a drill. (Selection of Clevis Pins)

Steps:

  • Optional – Paint Clevis Pins
  • Remove Rear Crash Bars if fitted
  • Offer up drill to the side case and place a lot of Masking Tape on the Panniers where the drill touches
  • Glue Rubber Stays back in place if necessary
  • Optional (recommended) – Drill a small pilot hole centred 7mm from the long flat side of the case support and centred between the two ribs
  • Drill the hole through the case supports and rubber stays (centred 7mm from the long flat side of the case support and centred between the two ribs)
  • Optional – Cut Heat Shrink Tubes to size 95mm (4 5/8″) long
  • Optional – Spray small amount of White Grease into the heat Shrink Tubes and slide them onto the Round Wire loops on the Clevis Pins
  • Optional – Shrink the Heat Shrink tube with a heat gun
  • Insert the Clevis Pins

I made a video and took some photographs of the procedure. There is no lighting in the garage, so the video footage was very grainy and not usable. Luckily, pictures were taken of each step using a mobile phone with a flash. The video below, therefore, is a montage of those pictures and more than adequately shows the items and the steps necessary to do this very simple job.

Top Sellerie Deluxe Comfort Gel Seat – Deauville NT700

Ordering, Delivery, Unboxing & Fitting

What’s in the box? How well made is it? How easy is it to fit? Today you’ll find out.

Top Sellerie: https://topsellerie.fr
Top Sellerie Deluxe Comfort Seat for the Deauville NT700 on Amazon
Top Sellerie Range for the Deauville 650 & 700 on Amazon

Ordering

The Top Sellerie Deluxe Comfort Gel Seat was ordered online 14th January. I had a replacement Seat Pan so I sent that off the next day. I received a confirmation that the Seat Pan had arrived and was given a provisional shipping date of 19th February. On 6th February I received an email to tell me that the seat was being shipped and I received it on 12th, a whole week earlier than expected – Well done Top Sellerie!

Top Sellerie have 3 methods of “ordering”:

  • Remanufacture: Send your original seat and receive your new seat about 4 weeks later. Pros: Cheapest and you keep your own seat pan. Cons: You can’t ride your bike for about a month! Finding a way to send your seat to them.
  • Seat Exchange: Use their own seat pan and receive your new seat in about 1 week to 4 weeks depending on whether they need to build it or have one in stock. You then send your original seat back to them (you also need to pay a relatively hefty deposit which you get refunded when they receive your seat). Pros: Cheaper and you get to ride your bike while the seat is being made. Cons: Paying a hefty deposit and having to find a way to send your seat back to them
  • Buy a New Seat: Buy a complete seat from them. Waiting times are similar to Seat Exchange. It’s also the most expensive. Pros: You get to ride your bike while the seat is being made and you’ve always got your old seat if you need it. You can also sell your old seat to recoup some of the cost if you want. Cons: Cost

Customer Service

Top Sellerie’s customer service is excellent. They informed of the receipt of the seat pan and of the shipping.

Delivery

Delivery is via a Courier Company. Mine was delivered by DHL. Top Sellerie seem to have a number of outlets, depots and facilities in different countries and mine was shipped from Portugal. DHL had initially given a delivery date of 14th February but, it arrived two days earlier. Luckily, someone was here to receive the delivery.

What’s in the Box?

The seat in clear plastic bag and bubble wrap, and a note, in various languages, asking to send a photo of the seat on the bike. The seat was well protected by the bubble wrap and the outer packaging had stood up well to the delivery. If you order the Seat Exchange, you can use the same packaging to send your old seat back to them. I’m using the packaging to store my original seat safely in the garage.

The Gel seat is heavy! It’s about twice the weight of the original seat. The piping on the edges, the embroidery and stitching look very good indeed to my untrained eye.

The gel is firm and the covering material feels very good. The cover is stapled to the seat pan and they’ve used a lot of staples. They’ve also used three “studs” to secure the “hump” behind the rider’s seat.

Fitting

The seat takes a lot of finagling to fit for the first time. This is due to the extra size of the front portion of the seat. I initially thought that there was a problem with the seat pan but, I checked the Honda part number and measured all the fasteners and holes and they were exactly the same except one of the holes which was about 0.25 mm smaller so I “dremelled” it to the same size.

The knack to fitting the seat the first time is to put the bike on the centre stand. Make sure it won’t rock forward so put something in front of the front and/or rear wheel and brace your leg against the passenger foot rest, you’ll see why in a moment. Slot the seat into place, it won’t lock down at this point. This is due to the head of the bolt which holds the seat locking mechanism in place not lining up with the corresponding hole in the seat pan. Firmly grasp the rear of the seat and forcefully pull it forward while pressing down, the seat will lock into place. You may need two or three goes at it. If you still have problems, remove the rubber heat guard from between the tank and the seat and try again.

Now you know why you need the bike stabilised!

Note: after the seat has been on for a while the gel at the front of the seat deforms by about the 1 mm required and it does become easier to fit the seat. If you’re still having problems, you could “dremel” the the hole the bolt head fits into on the bottom of the seat pan about 1 mm longer.

Unlocking the seat needs a bit more force on the lever until the seat “beds in”.

Thoughts

This seat feels nice to the touch and looks fantastic. This seat is lovely once you get the knack of putting it on and taking it off. The seat is a little taller than the original. I used to be able to “flat-foot” both feet with the original seat now, I can’t quite flat-foot both feet simultaneously, but I can very easily get the balls of both feet on the ground. For reference I’m just over 5’8″ or 174 cm with a 30″ inside leg.

I’m very impressed with the seat so far and will go out and give it a thorough test and report back. So, in the next post I’ll give my thoughts on comfort, riding on it and using it on a regular basis. Until next time…

Top Sellerie Deluxe Comfort Seat for the Deauville NT700
Top Sellerie Range for the Deauville 650 & 700
Top Sellerie: https://topsellerie.fr

I’m not associated with this company in any way other than having bought and fully paid for one or more of their products. They are unaware that I am writing this review.

Eclipse Battery Voltage Monitor

Tiny doesn’t do this auto-dimming battery voltage monitor justice! It’s miniscule with a multitude of functions.

The Eclipse is a fully waterproof voltage indicator with a bright three colour (green/amber/red) LED. The entire control circuit is built into a tiny water-resistant capsule embedded directly behind the LED, and a black nylon bezel (plus a spare) are supplied for a tidy installation into your panel. It is guaranteed waterproof.

The Eclipse constantly monitors the ambient light level and adjusts the LED’s output brightness instantly and seamlessly, so that the LED will not dazzle at night time. There is no ‘third wire’ or separate sensor.

Benefits of auto-dimming:

  • LED is brightly visible in sunshine and comfortably dimmed during dark
  • maintains optimum indication with minimum distraction
  • micropower consumption in darkness

Features:

  • dims automatically in response to ambient light
  • fully waterproof & shockproof (IP rating pending)
  • available in three LED sizes; 10mm, 8mm, and 5mm
  • indicates your battery’s charge condition and confirms alternator operation (if applicable)
  • available in 6v, 12v, or 24v versions (or other voltage from 3v min. to 32v max.)
  • extremely precise (12v unit is +/-0.03v)
  • 600 mm long flexible flying leads (longer leads available on request)
  • reverse polarity and overload protected
  • simple two wire connection to positive & negative
  • very low power consumption (8ma in bright light, 1ma in darkness)
  • suitable for direct connection to battery (simply cover to reduce drain when garaged)
Voltage: Output: Engine running: Engine stopped (electrics off):
>15.20v Green / Red alternating over-charging – regulator problem not applicable
>13.20v Green steady normal charging exceptional battery charge (uncommon)
>12.45v Amber steady under-charging – alternator problem normal battery, charged and in good health
>12.25v ■■ Red slow flashing not charging – battery low fair battery charge
>12.05v •• Red 2 flashes, repeating not charging – battery low low battery charge
>11.80v ••• Red 3 flashes, repeating not charging – battery very low very low battery charge
<11.80v •••• Red 4 flashes, repeating not charging – battery very low consider renewing battery

Installation

As it is so small and waterproof, installation is as easy or as difficult as you want it to be. It can be installed anywhere relatively close to virtually any live circuit. It doesn’t have to be near the battery.

On the Honda Deauville 700 it is installed in the instrument panel. This took a little more work as the instrument panel had to be removed and then drilled (eek!). The hole required depends on the unit purchased but it’s no more than 14 mm. I choose the 8 mm unit so needed a 12 mm hole. If you are going to mount it in your dashboard, or anywhere else for that matter, double check that you’re not going to damage any circuitry – “measure twice, cut once

Connection is better to a low power switched circuit and not to the headlights or heated grips etc. You can connect it directly to the battery (it draws very little power) provided the bike isn’t garaged over winter or for long periods.

So what’s it like in use?

The LED battery monitor has operated flawlessly for over 5 years. It gives an extremely easy to read state of your battery and, if there’s a problem, the flashing LED will catch your eye.

On turning on the ignition you (usually) get a steady red light. On starting it usually flashes because the starter motor is drawing a great deal of current. Once the engine is started the LED turns green after about 1 second. That’s it. Simples!

When the battery on the Deauville started to fail about 4 years ago, the Eclipse gave lots of warning that it wasn’t charging properly. This meant I could order a new battery and fit it before being stuck at the side of the road.

I thoroughly recommend this unit. Properly positioned it even looks OEM.

You can get your Eclipse Battery Voltage Monitor here:

http://www.sparkbright.co.uk/sparkbright-eclipse-battery-voltage-monitor.php

I’m not associated with this company in any way other than having bought and fully paid for one or more of their products. They are unaware that I am writing this review.

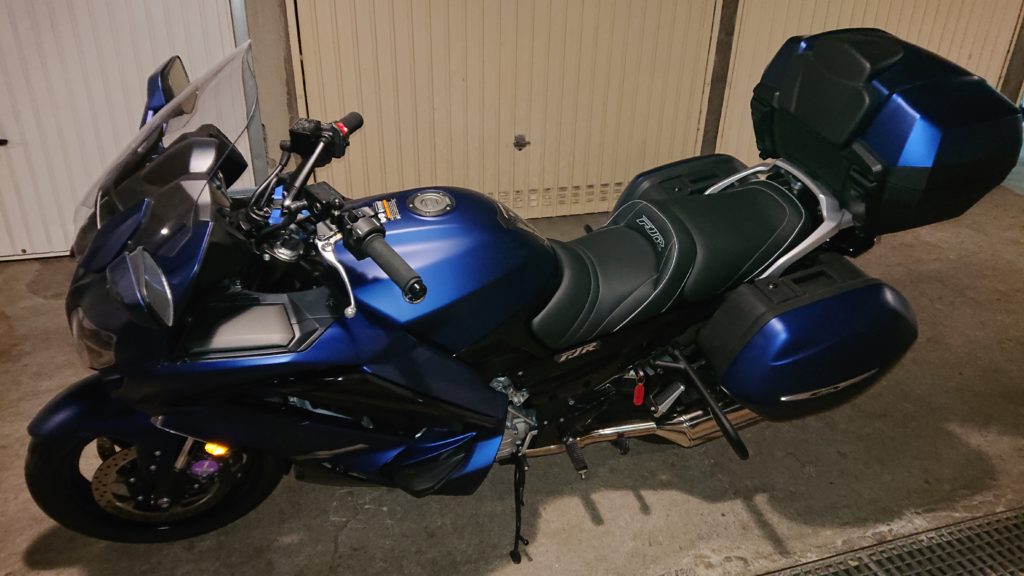
Top Sellerie Deluxe Comfort Gel Lowered Seat – FJR1300

Ordering, Delivery, Unboxing & Fitting

What’s in the box? How well made is it? Does “Lowered” make a difference? How easy is it to fit? Today you’ll find out.

Top Sellerie Deluxe Comfort Gel Lowered Seat for the FJR1300 >2006
Top Sellerie Products on Amazon
Top Sellerie: https://topsellerie.fr

Ordering

The Top Sellerie Deluxe Comfort Gel Lowered Seat was ordered online at the end of November 2019 in time for a Christmas delivery. Luckily they had one in stock, in Portugal – more about this later, and it was delivered 2 weeks before Christmas.

Top Sellerie have 3 methods of “ordering”:

  • Remanufacture: Send your original seat and receive your new seat about 4 weeks later. Pros: Cheapest and you keep your own seat pan. Cons: You can’t ride your bike for about a month! Finding a way to send your seat to them.
  • Seat Exchange: Use their own seat pan and receive your new seat in about 1 week to 4 weeks depending on whether they need to build it or have one in stock. You then send your original seat back to them (you also need to pay a relatively hefty deposit which you get refunded when they receive your seat). Pros: Cheaper and you get to ride your bike while the seat is being made. Cons: Paying a hefty deposit and having to find a way to send your seat back to them
  • Buy a New Seat: Buy a complete seat from them. Waiting times are similar to Seat Exchange. It’s also the most expensive. Pros: You get to ride your bike while the seat is being made and you’ve always got your old seat if you need it. You can also sell your old seat to recoup some of the cost if you want. Cons: Cost

Customer Service

Top Sellerie’s customer service is excellent. They replied promptly to my queries and were courteous and extremely helpful. They sorted out the problem with DHL (see below) quickly and efficiently. All the correspondence was in English. Top Marks Top Sellerie!

Delivery

Delivery is via a Courier Company. Mine was, unfortunately, delivered by DHL. Top Sellerie seem to have a number of outlets, depots and facilities in different countries and mine was shipped from Portugal at no extra cost to me. Unfortunately DHL managed to “lose” the package in Spain. How do you “lose” a package big enough to hold a motorcycle seat? On their tracking site it said it was in Spain and it remained there, in total, for about 10 days. After 3 days I emailed DHL and received a “canned response”. 3 days later I emailed them again and received another “canned response”, though, this time DHL blocked access to the detailed tracking info. I then emailed Top Sellerie and, low and behold, DHL “found” the package and it was delivered three days later. I think DHL needs to change their corporate slogan to “Too big to care”.

What’s in the Box?

Just the seat in clear plastic bags and bubble wrap. The seat was well protected by the bubble wrap and the outer packaging had stood up well to the delivery. If you order the Seat Exchange, you can use the same packaging to send your old seat back to them. I’m using the packaging to store my original seat safely in the garage.

The Gel seat is heavy! It’s about twice the weight of the original seat. (Note to self: weigh it and find out). The piping on the edges, the embroidery and stitching look very good indeed to my untrained eye. The Top Sellerie seat pan is stamped with the Top Sellerie logo underneath and isn’t of the same plastic material as my original seat. I don’t think this matters as it seems to be more sturdy so will handle the extra weight of the gel.

The gel is firm and the covering material feels very good. The cover is stapled to the seat pan and they’ve used a lot of staples.

Fitting

The FJR has two seats, front and rear.

The front is very easy. It fits perfectly in the place of the original seat.

The rear seat takes a bit more finagling. This is due to the extra size of the front seat and rear seat. You need to slot the rear of the rear seat in place, then while holding it down with one hand, pull the front seat slightly forward and, at the same time, push the front of the rear seat down until it clicks. It’s easy after you’ve done it a few times.

The original seat, when you unlocked it, would pop up. The Top Sellerie one doesn’t, so you need to push it push while turning the lock.

Thoughts

This seat feels nice to the touch and looks fantastic. This seat is lovely once you get the knack of putting it on and taking it off. As it’s the lowered seat, I’m no longer on tiptoe, which was a bit precarious to say the least with a bike as heavy as the FJR. I can’t flat-foot both feet simultaneously, but I can get the balls of both feet on the ground and I can flat-foot one foot very easily. For reference I’m just over 5’8″ or 174 cm with a 30″ inside leg.

So, yes! To answer the question. Lowered makes quite a big difference.

I’m very impressed with it so far and will go out and give it a thorough test and report back. So, in the next post I’ll give my thoughts on comfort, riding on it and using it on a regular basis. Until next time…

Link to the Top Sellerie Deluxe Comfort Gel Lowered Seat for the FJR1300 >2006
Top Sellerie Products on Amazon
Top Sellerie: https://topsellerie.fr

FJR1300 with the Top Sellerie Deluxe, Comfort, Gel, Lowered Seat

I’m not associated with this company in any way other than having bought and fully paid for one or more of their products. They are unaware that I am writing this review.