

Correct suspension setup is essential for your motorcycle to handle correctly. A lot of motorcycles come just with very basic suspension setup – Spring Preload. You can usually only change the ride height of the rear suspension. That’s it!
In this article we’ll look at adjusting the Spring Preload. In other articles we’ll look at more complex suspension adjustments – compression and rebound damping.
Setting the Spring Preload correctly means the rear suspension for your bike is set up for your weight. Therefore the motorcycle handles better.
Some motorcycles only have 5 or 6 adjustment positions, others can have many more. You have to live with what your motorcycle has which, for most riders, will be adequate. If it isn’t, change the spring to one more suitable for your weight.
There is a more precise way to set up the rear suspension for your bike than the “seat of the pants” method used in the past. It involves a friend, or two if you don’t have a paddock stand, and a tape measure. Oh, and a pencil and paper to write everything down. If your friends are riders too, you can have a Rider Sag Suspension Setup Session.
- 1. Write down the current settings: how many turns in or out (your choice but usually out) the settings are currently set to. Note: the factory setting is usually in the manual, if all goes wrong reset to that!
- 2. Get off the bike . Lift the rear end to the limit of the suspension travel and let it drop back down, supporting the bike so it doesn’t fall over – a front wheel paddock stand is really useful here if you have one or a friend. There should be about 5 mm of drop – measure by eye. This is the Static Sag.
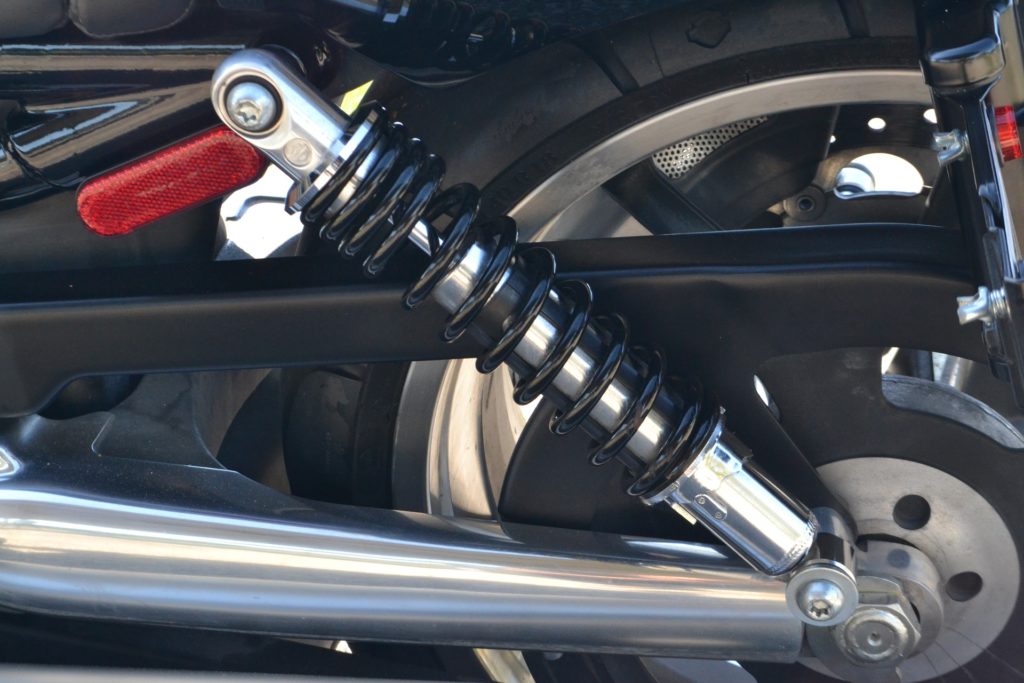
- 3. Measure the suspension height, in millimetres, from a suitable place e.g. top suspension bolt or bottom suspension bolt to a suitable point on the rear plastic or frame etc. (try to get as near vertical as possible) and write down this measurement immediately after doing the static sag.
- 4. Get on the bike, in full bike clothing with normal luggage and/or backpack, and sit as you would sit normally while riding, both feet on the pegs with either a paddock stand or friend holding the front of the bike. Measure the suspension again (as per item 3) and subtract it from the figure in item 3. This is called Rider Sag.
The Rider Sag for a typical street setup should be about 35 mm – 40 mm (30 mm – 40 mm if there isn’t much adjustment available).
Note: track Sag settings are different and shouldn’t be used on public roads as you’ll probably end up in a hedge at the first bump! - 5. If there is more than one rear shock on your motorcycle, adjust both shocks equally (very important) until the desired Rider Sag is achieved. See your manual for the adjustment procedure. If you’ve loosened any nuts make sure they’re correctly tightened as per the manual.
Now do your friends’ bikes… - 6. Go for a test ride and adjust if necessary between the 30 mm and 40 mm range.
- 7. Recheck your Rider Sag about every 1,000 miles or so.
Now that your Rider Sag is setup correctly you should see a number of benefits:
- Better handling, especially in the corners
- A more comfortable ride
- Better tyre wear – your tyres should last longer provided they’re correctly inflated.

Finally, remember to change the Rider Sag if you carry a pillion passenger or heavy items i.e. you go on a touring holiday.
Until next time, ride safe and enjoy your ride.