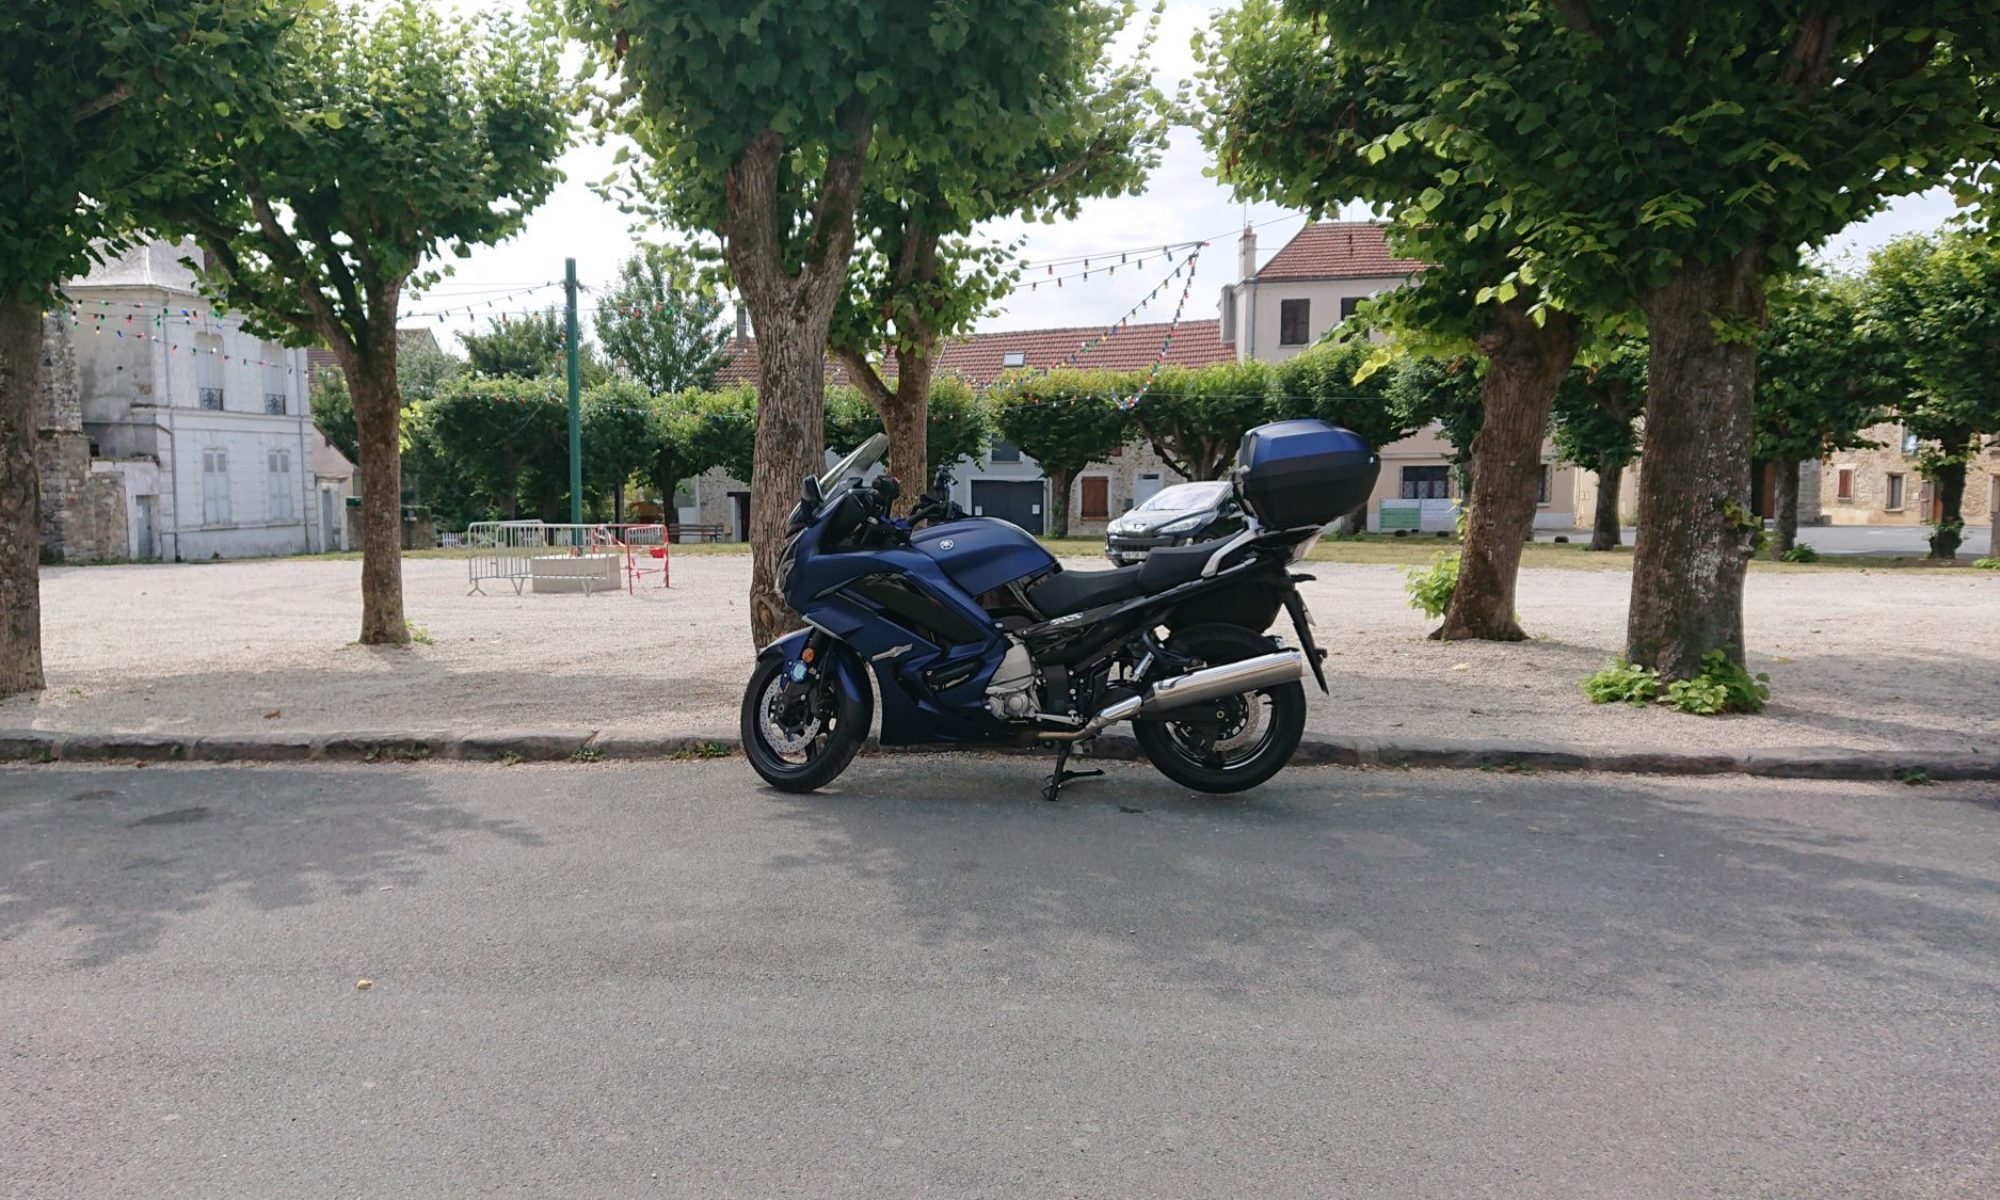
There have been occasions when the side cases on the FJR1300 have become detached while riding, especially after hitting a bump or deformity in the road. Only just the other day someone posted on another site about one of his Panniers becoming detached and self destructing on the road. Luckily this hasn’t happened to me. Even so I decided to do something about it. The video on How to Pin the Panniers on a Yamaha FJR1300 is at the end of this post.
With that in mind I decided to pin my panniers. It turned out to be a very easy job – the basic work took less than 15 minutes to complete both sides. As I have rear crash guards and decided to paint the clevis pins, it took about an hour or so in total.
I’ve found that since doing it the panniers don’t move at all. Whereas before they would rattle a little. Also, when they are full, the bike seems more stable at the rear probably due to the lack of movement.
The minimum you need to do the job is two 55mm x 6mm (2¼” x ¼”) or slightly longer Clevis Pins, a 7mm (5/16”) drill bit and a drill. (Selection of Clevis Pins)
Steps:
- Optional – Paint Clevis Pins
- Remove Rear Crash Bars if fitted
- Offer up drill to the side case and place a lot of Masking Tape on the Panniers where the drill touches
- Glue Rubber Stays back in place if necessary
- Optional (recommended) – Drill a small pilot hole centred 7mm from the long flat side of the case support and centred between the two ribs
- Drill the hole through the case supports and rubber stays (centred 7mm from the long flat side of the case support and centred between the two ribs)
- Optional – Cut Heat Shrink Tubes to size 95mm (4 5/8″) long
- Optional – Spray small amount of White Grease into the heat Shrink Tubes and slide them onto the Round Wire loops on the Clevis Pins
- Optional – Shrink the Heat Shrink tube with a heat gun
- Insert the Clevis Pins
I made a video and took some photographs of the procedure. There is no lighting in the garage, so the video footage was very grainy and not usable. Luckily, pictures were taken of each step using a mobile phone with a flash. The video below, therefore, is a montage of those pictures and more than adequately shows the items and the steps necessary to do this very simple job.
